My first Woodwork
Sometime back I wrote a post on this blog about things I want to do once I gain financial freedom. One of those things was opening a Wood workshop. Today, I am pleased to report that I have finished my first wood working project! This is what I made:
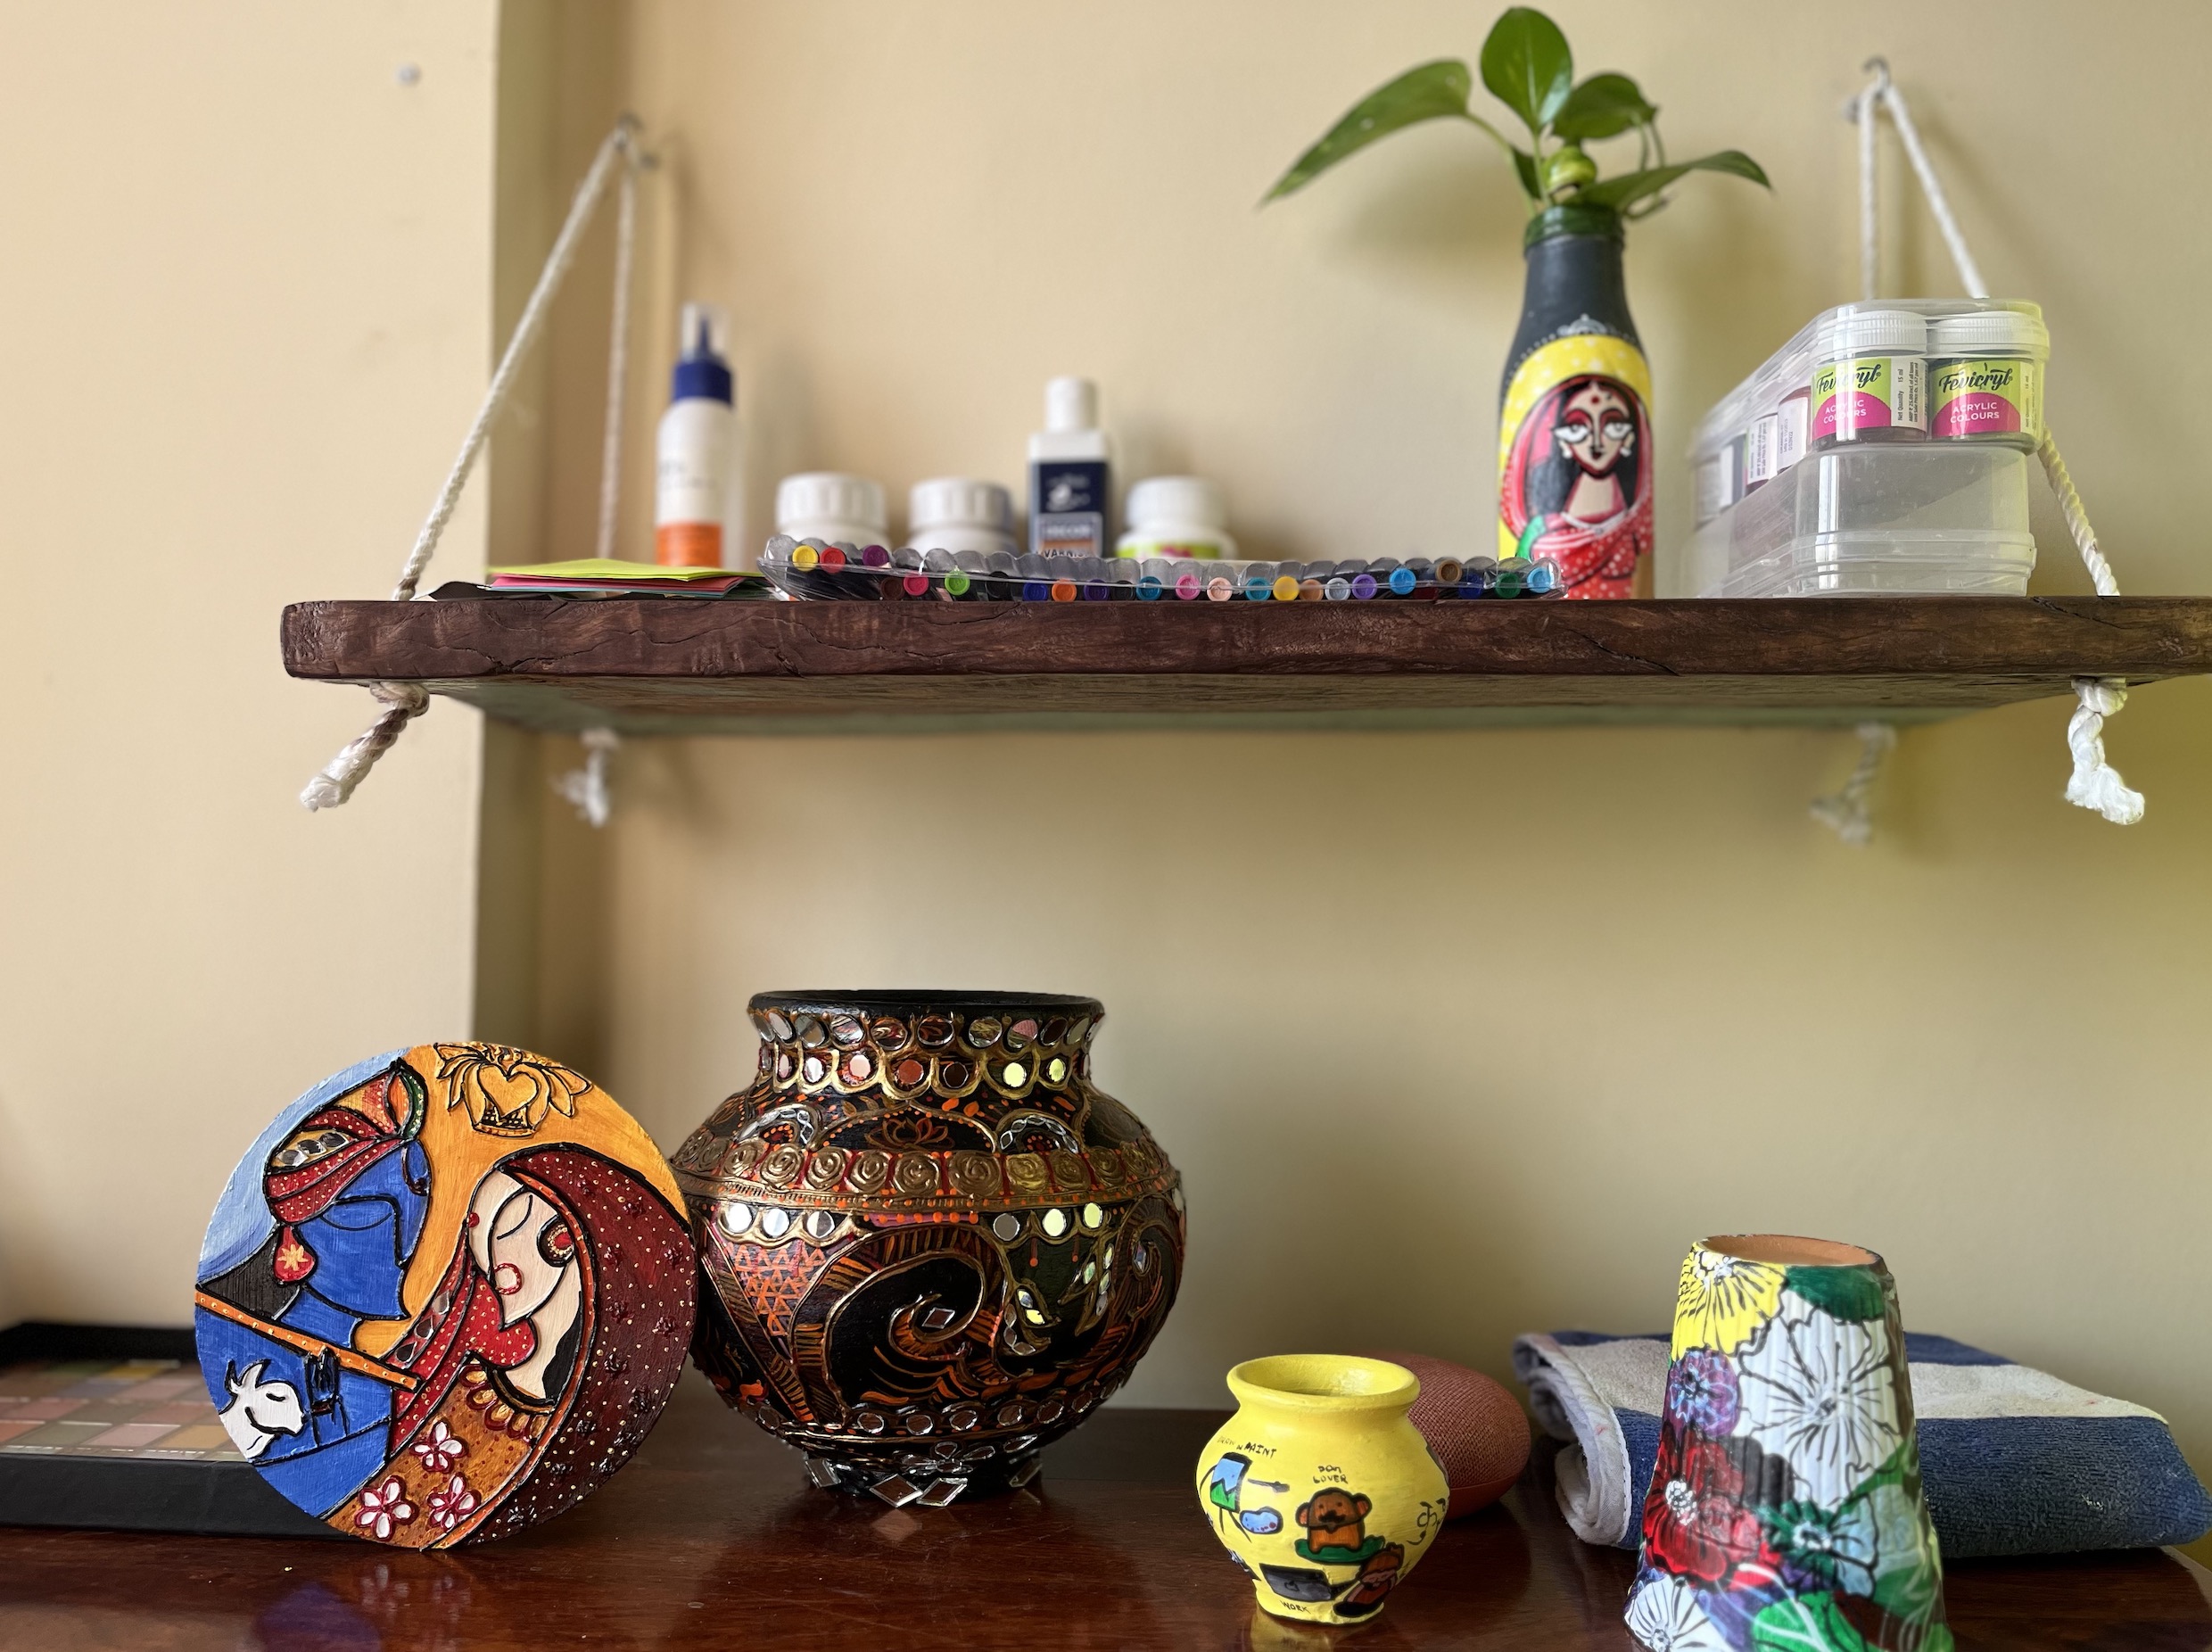
For those who are interested about how I made this, read on!
Backstory
My wife recently started trying her hands on handicraft gifts. Her table soon got occupied with multiple accessories, tools and what not - leaving her very little space to do actual work. I wanted to solve this for her and thanks to my deep interest in woodworking, I decided to build the solution myself! 😎 And so started this fun journey of BYOS (Build your own shelf)!
Type of shelf
I first wanted to decide what kind of shelf to build. I saw a bunch of videos on YouTube and searched Amazon to understand different kind of shelves out there - mainly in terms of how they attach to the wall. Some hang, some get screwed, some need brackets etc etc
Based on difficulty level and resources required, I decided on the following:
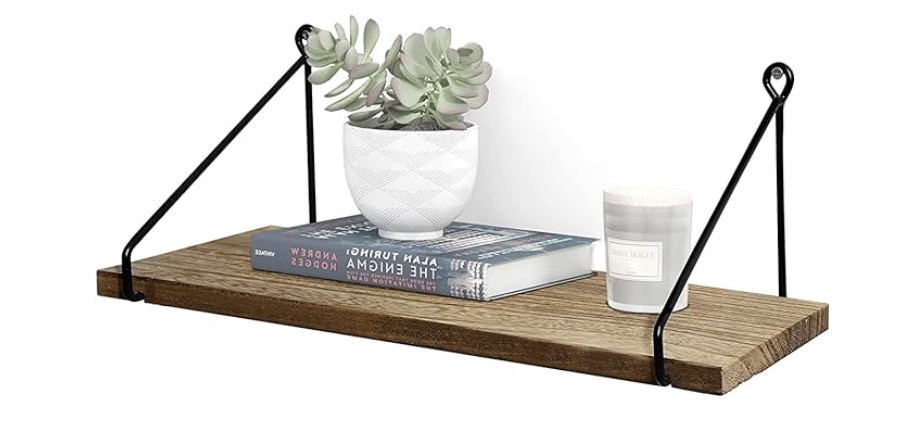
- It was very easy on the wooden plank side (nothing required there) apart from a slight groove at the bottom for keeping brackets in place.
- Wooden plank can be easily replaced with a longer one in future.
- Brackets are easy to hand on wall
PS: This wooden shelf is available on around INR 500, for 2 shelves. But its not solid wood.
The wooden plank
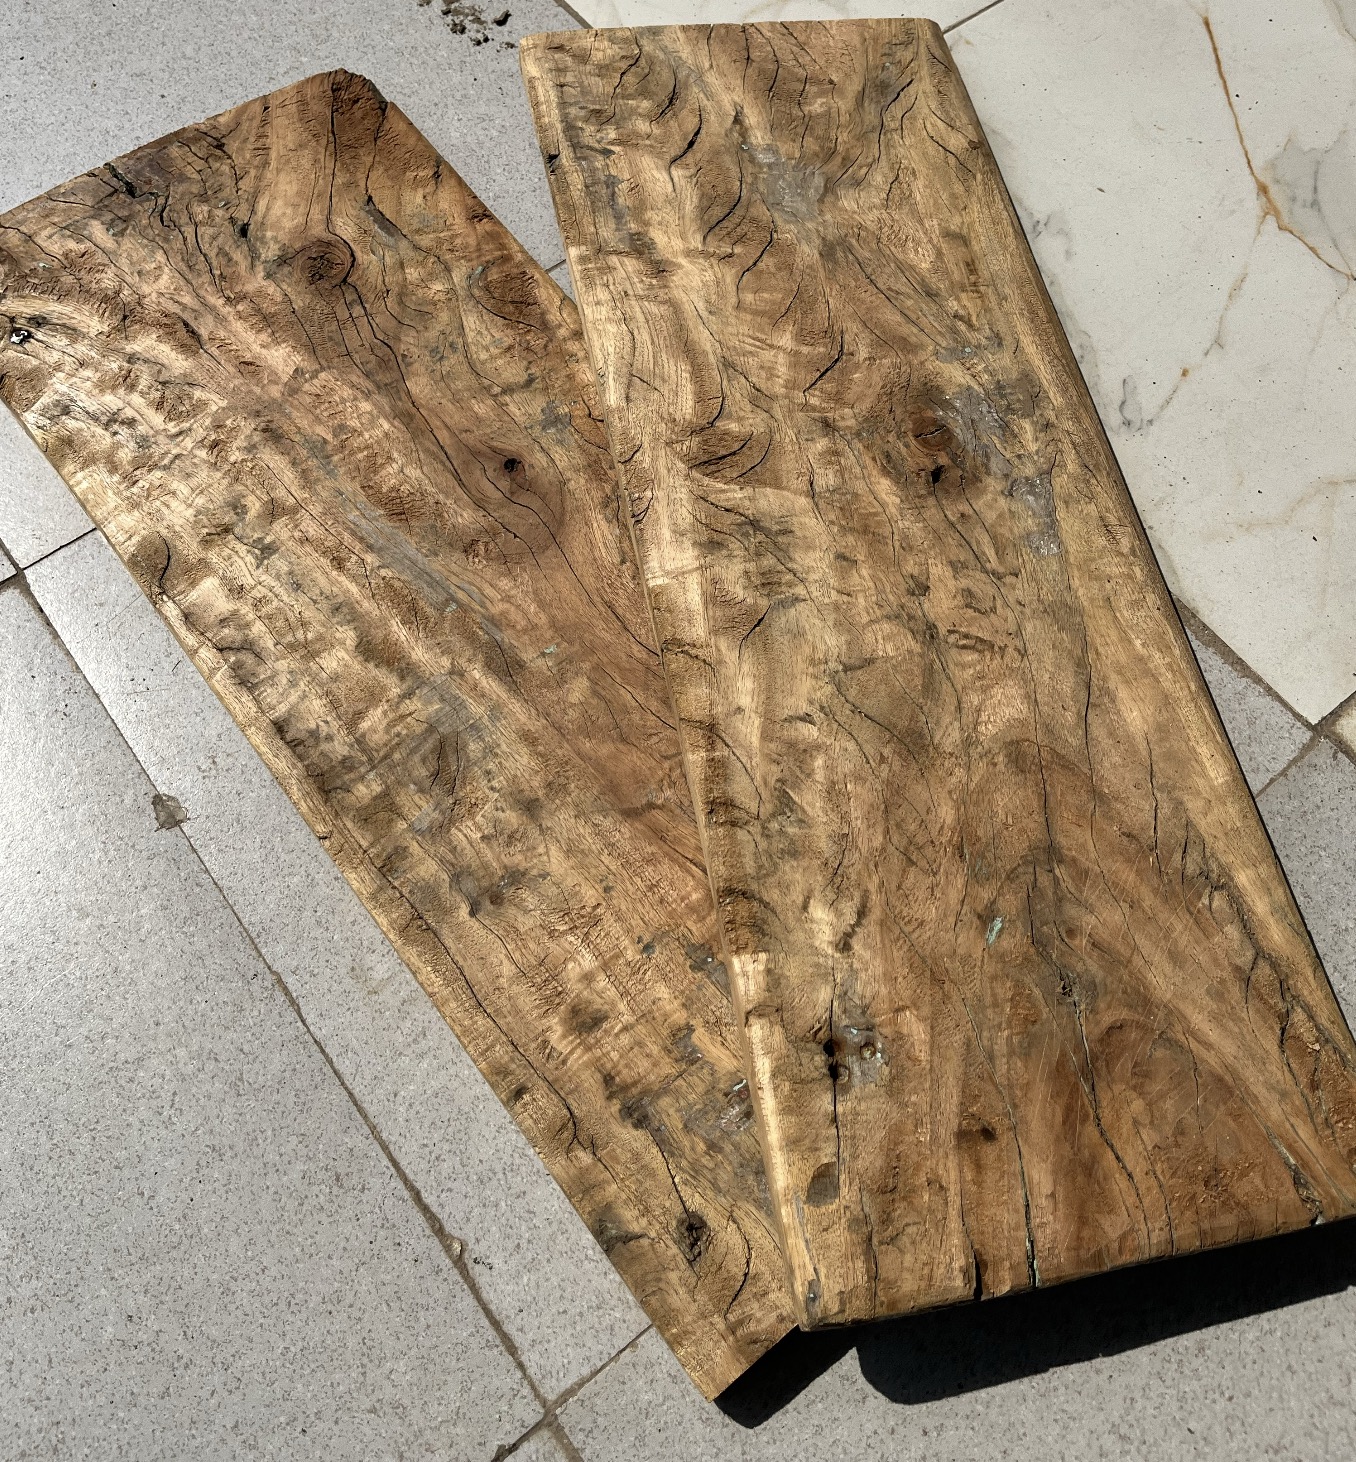
Immediately after, I starting searching for a solid wood plank. I checked out some online stores, but they had too expensive ones. So I thought about checking with some local wood workers near my place. But before I could do that, I had a chance to visit our gaushala (farmhouse) recently. And it couldn't have been a more fortunate visit - I found a good and old plank of solid wood there! I was so excited to get it - it was of perfect length for building 2 shelves! 🤩
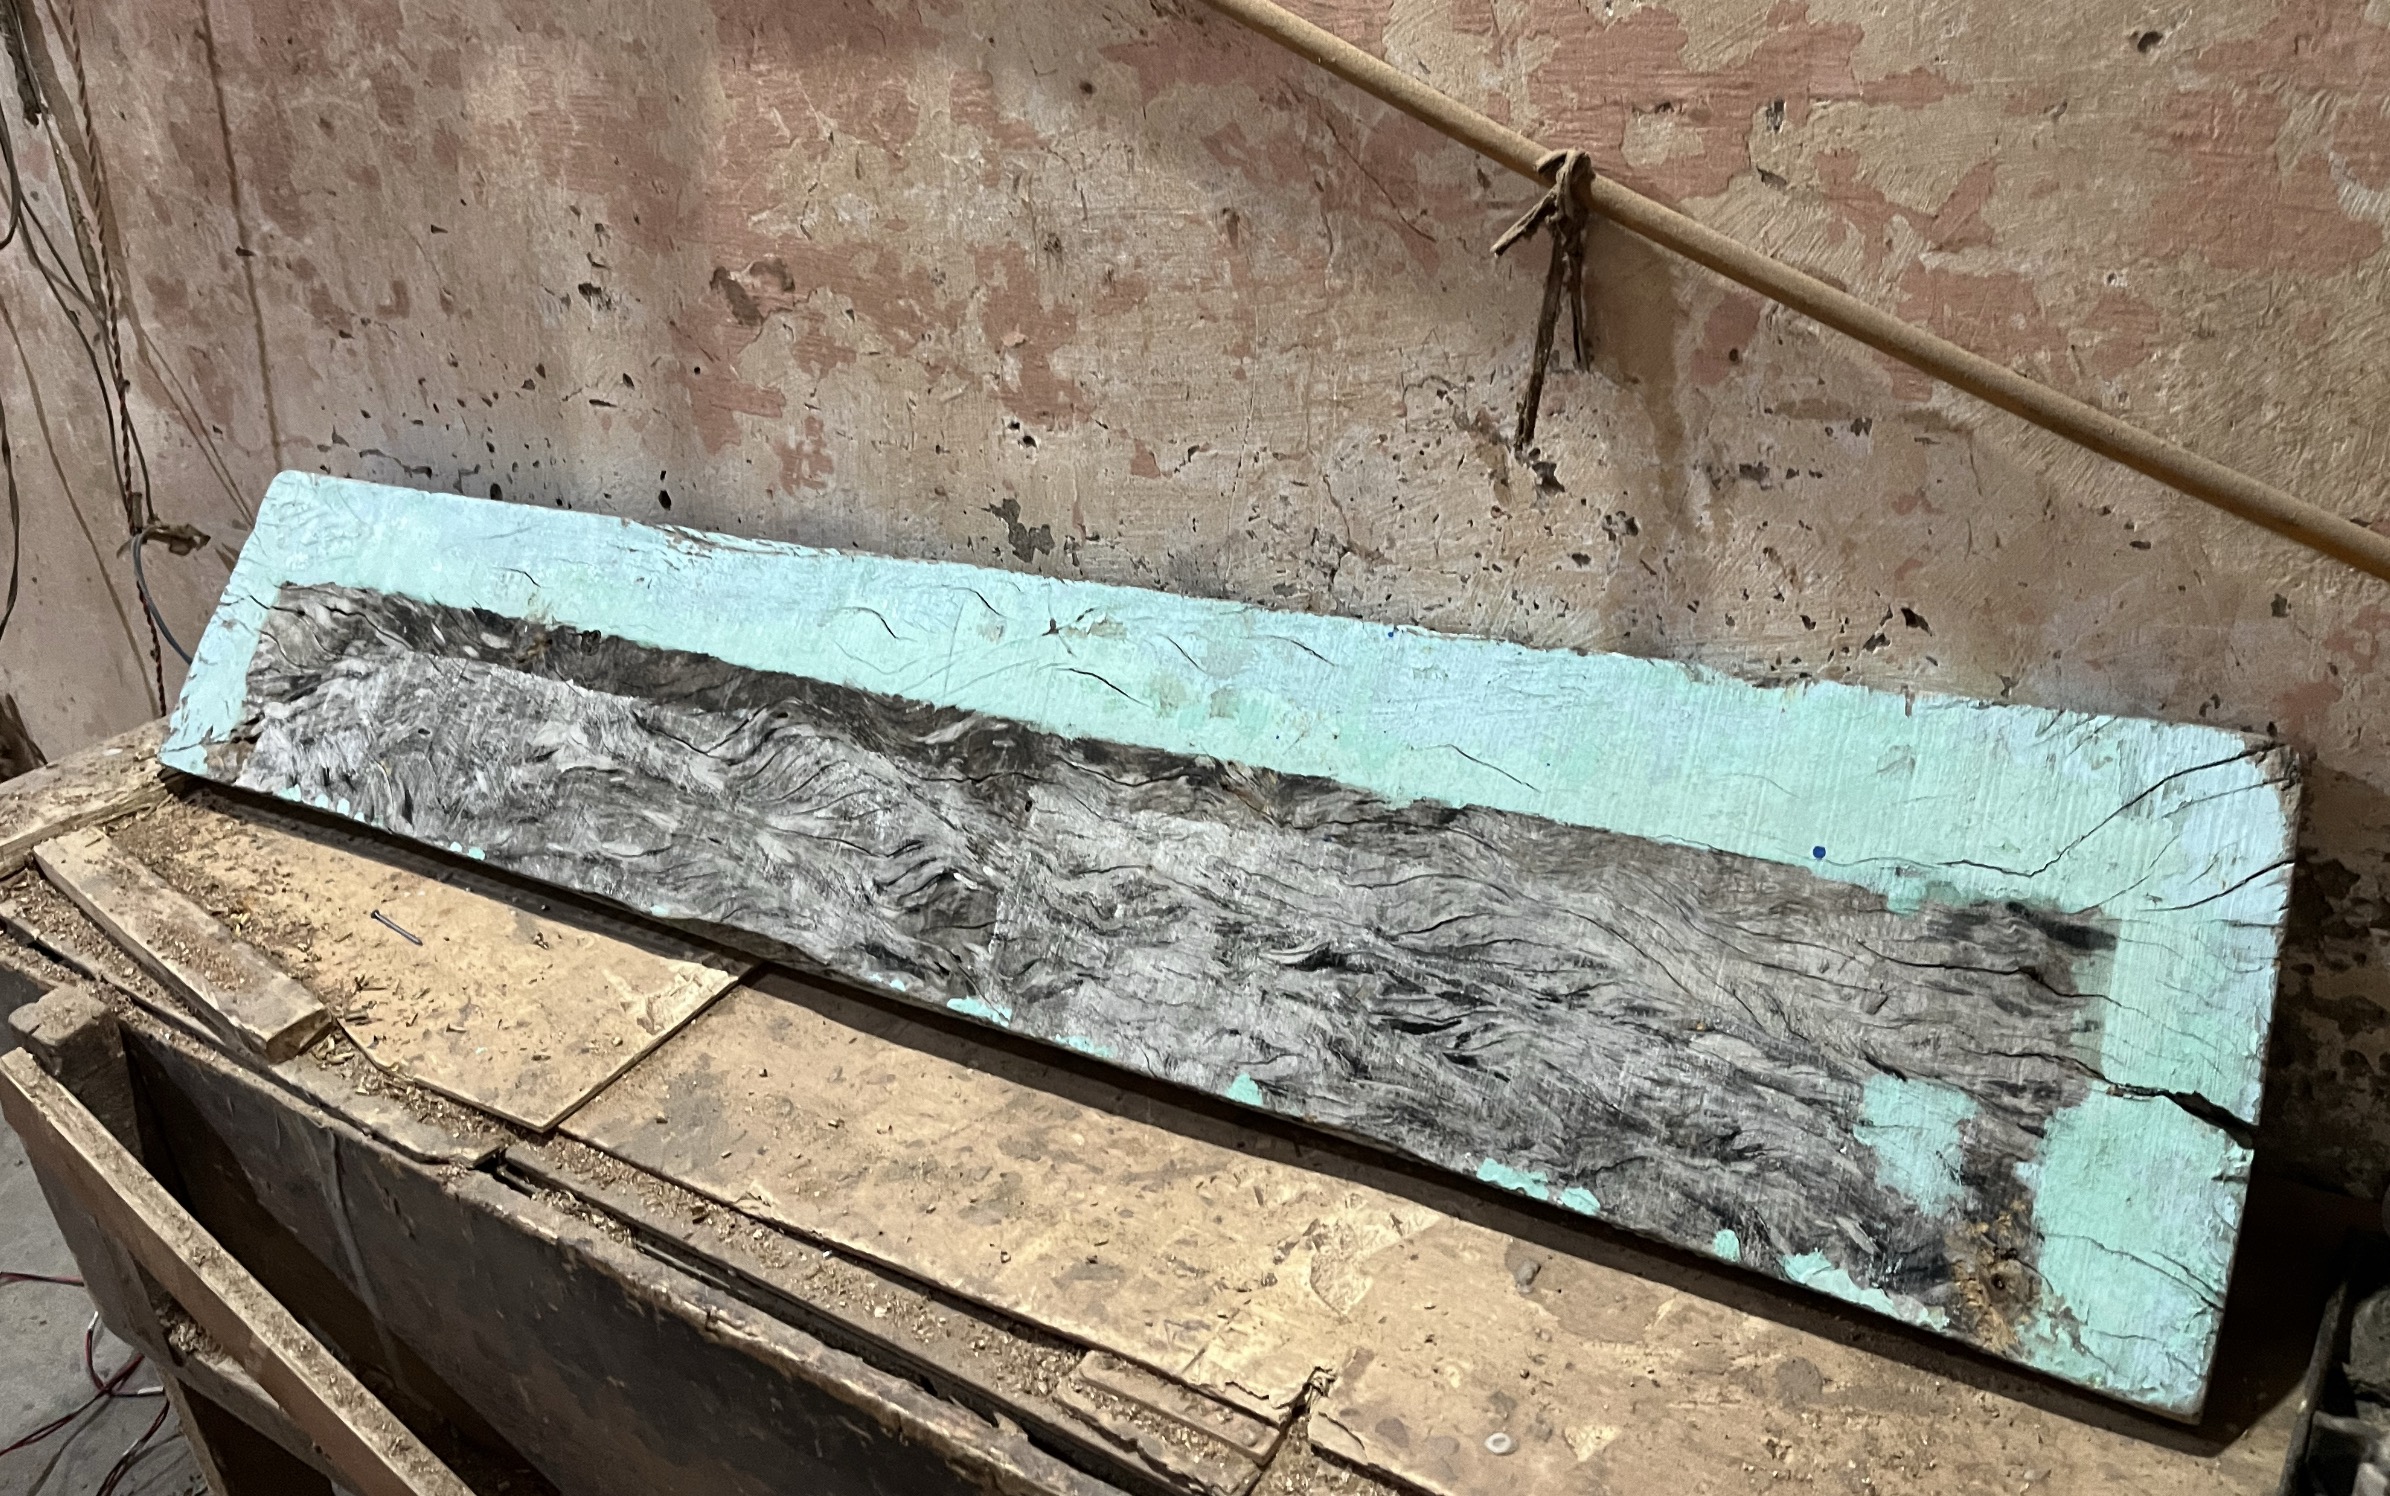
Getting the plank ready
The plank had to shaped down first to remove old paint and make it flat. There is a local furniture shop here from which we have got quite some things made in the past. I decided that I would go there and request the owner to let me work in their workshop. I would just use their tools and nothing else. Worst case I thought if they didn't agree to it, I would just ask them to do it for a price.
So on a fine weekend, I put the plank in my car and went to that furniture shop, asked the owner and he agreed! At their workshop I found the carpenter who had also built an almirah for us recently. I had a little chat with him and he showed me the tools there.
I got down to the first part - removing old nails from the wood. Some nails got removed, but some just broke and left part inside. The carpenter there helped me with this. Next was the smoothing the plank. This is done using a tool called Hand Plane (Randa). It was my first time using this tool. Fun fact, there was just one Hand plane in the workshop. So the carpenter kept asking me for it, for his own work. And everytime he used it, I watched him carefully and learnt something new about how to use that tool. Still it took me good 1.5 hours to smooth one side of the plank and the sides. I left the other side because it was anyways going to be hidden from view.
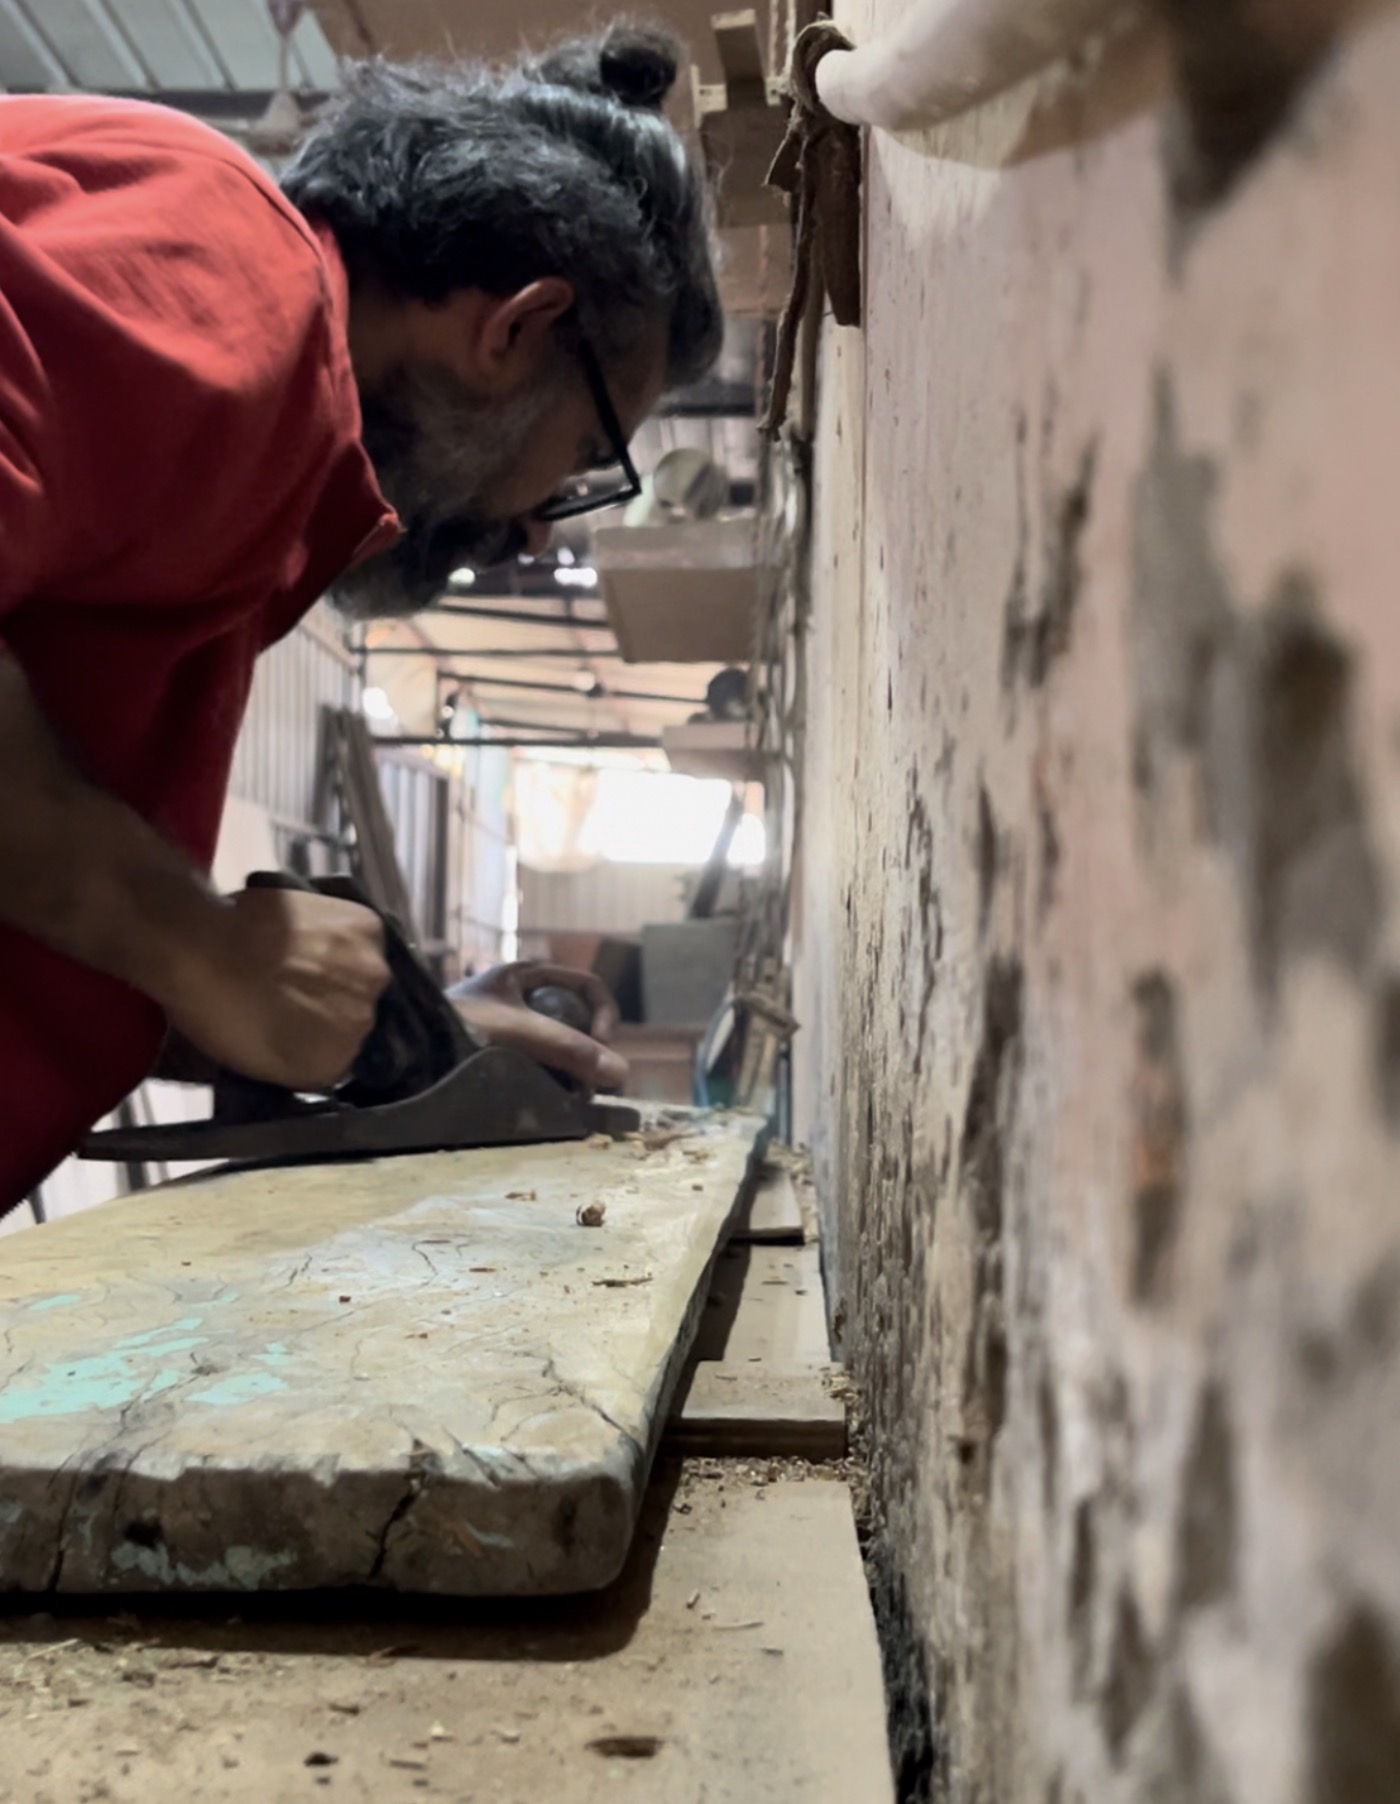
I was so amazed to see fresh wood coming out every minute during this process...felt like magic! Once the wood was smooth enough, I got it cut into 2 pieces - one for each shelf. Here is the end result of this phase:
Some more finishing
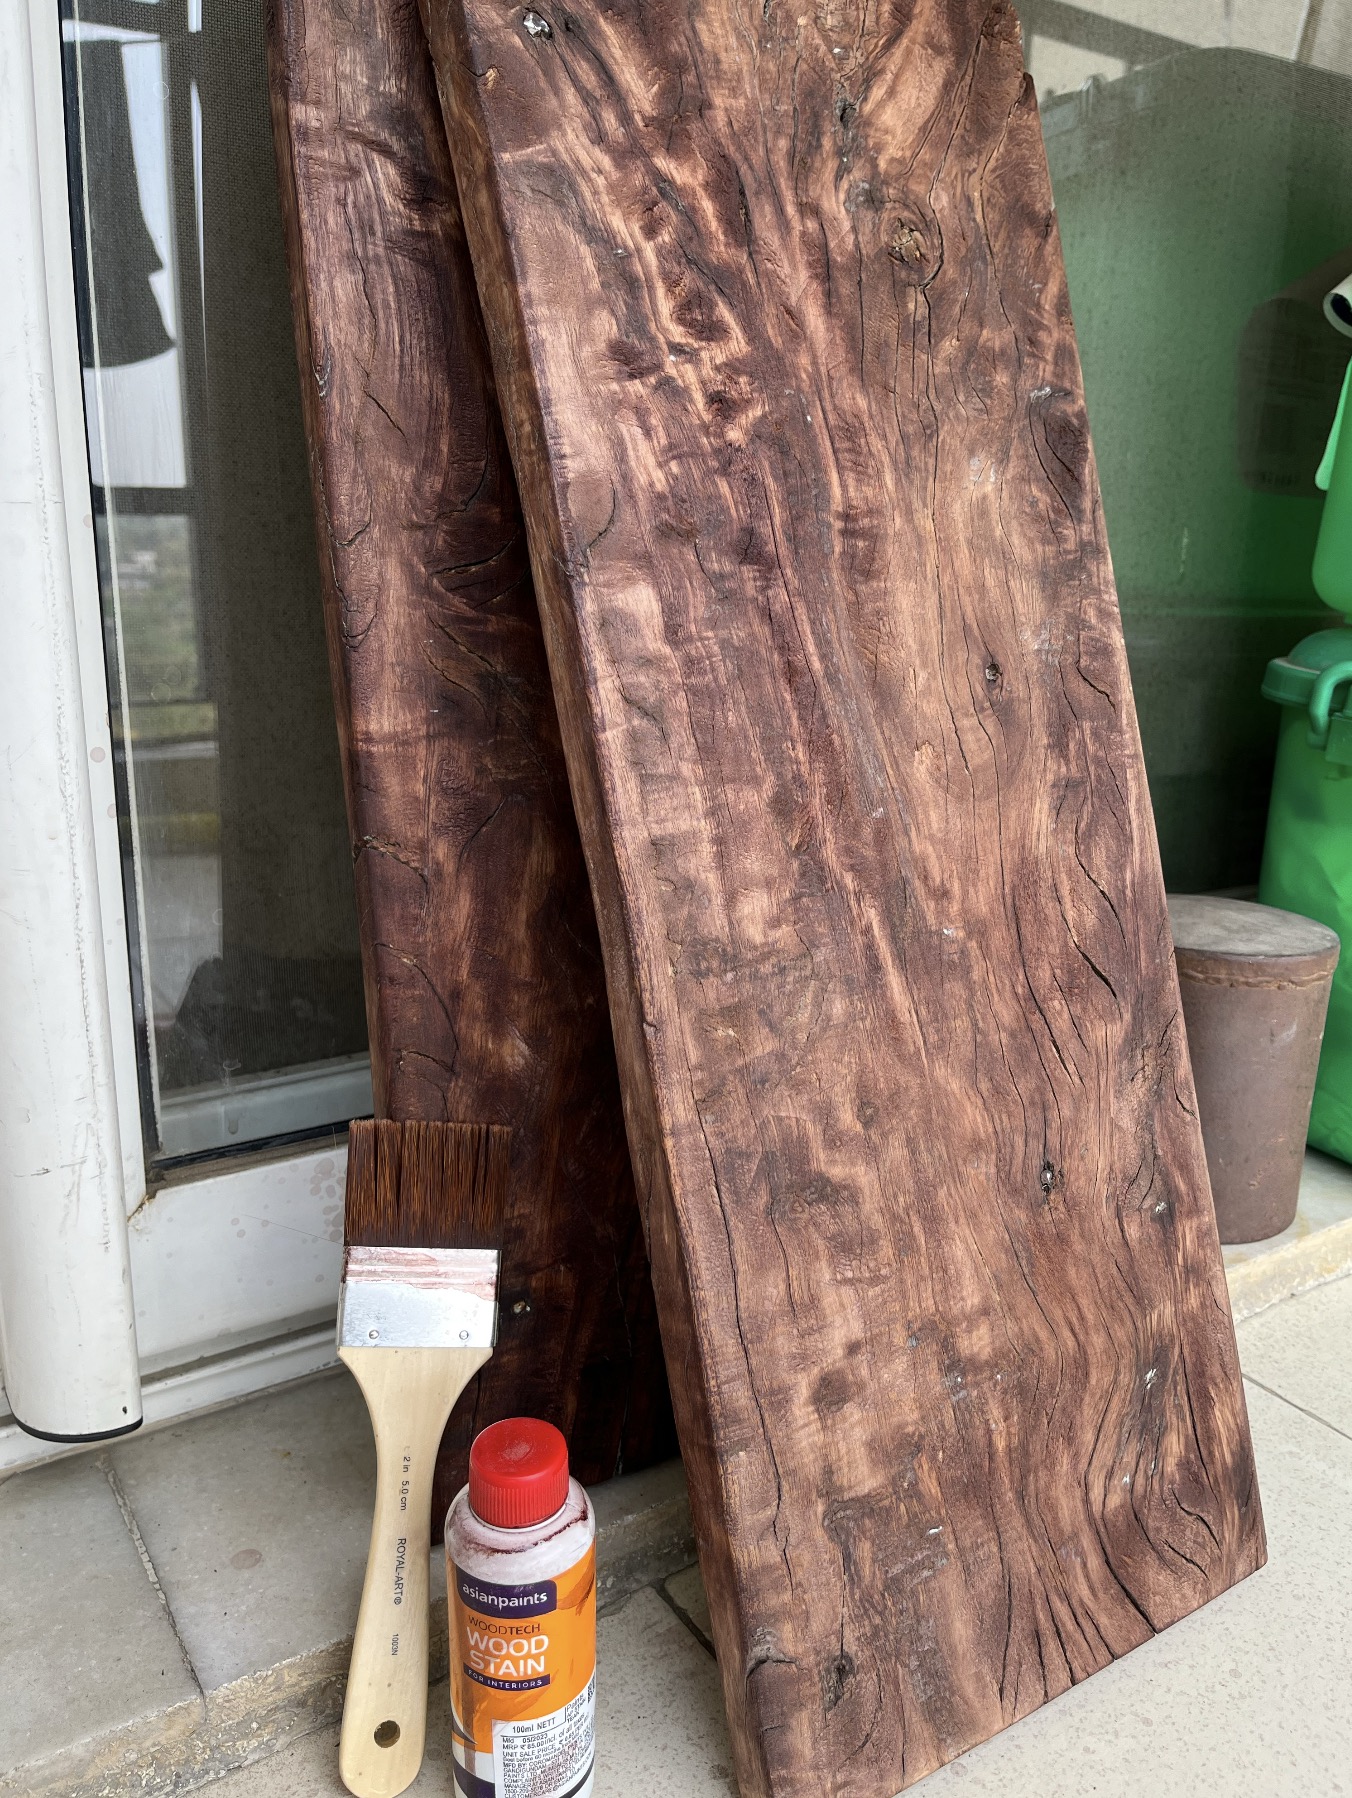
While I was leaving that workshop with my two wooden planks, I saw one of the carpenters sanding some wood. I had seen this thing in woodworking videos. Sanding is basically smoothening the wood some more with hand sand paper (or machine). I asked what kinda sand paper it was...he said it was No. 80. So while my wayback home, I got some materials:
- 2 Sand papers of No. 80
- A Teak finish wood polish
After some sanding, polish and then some more sanding, I got this:
The brackets
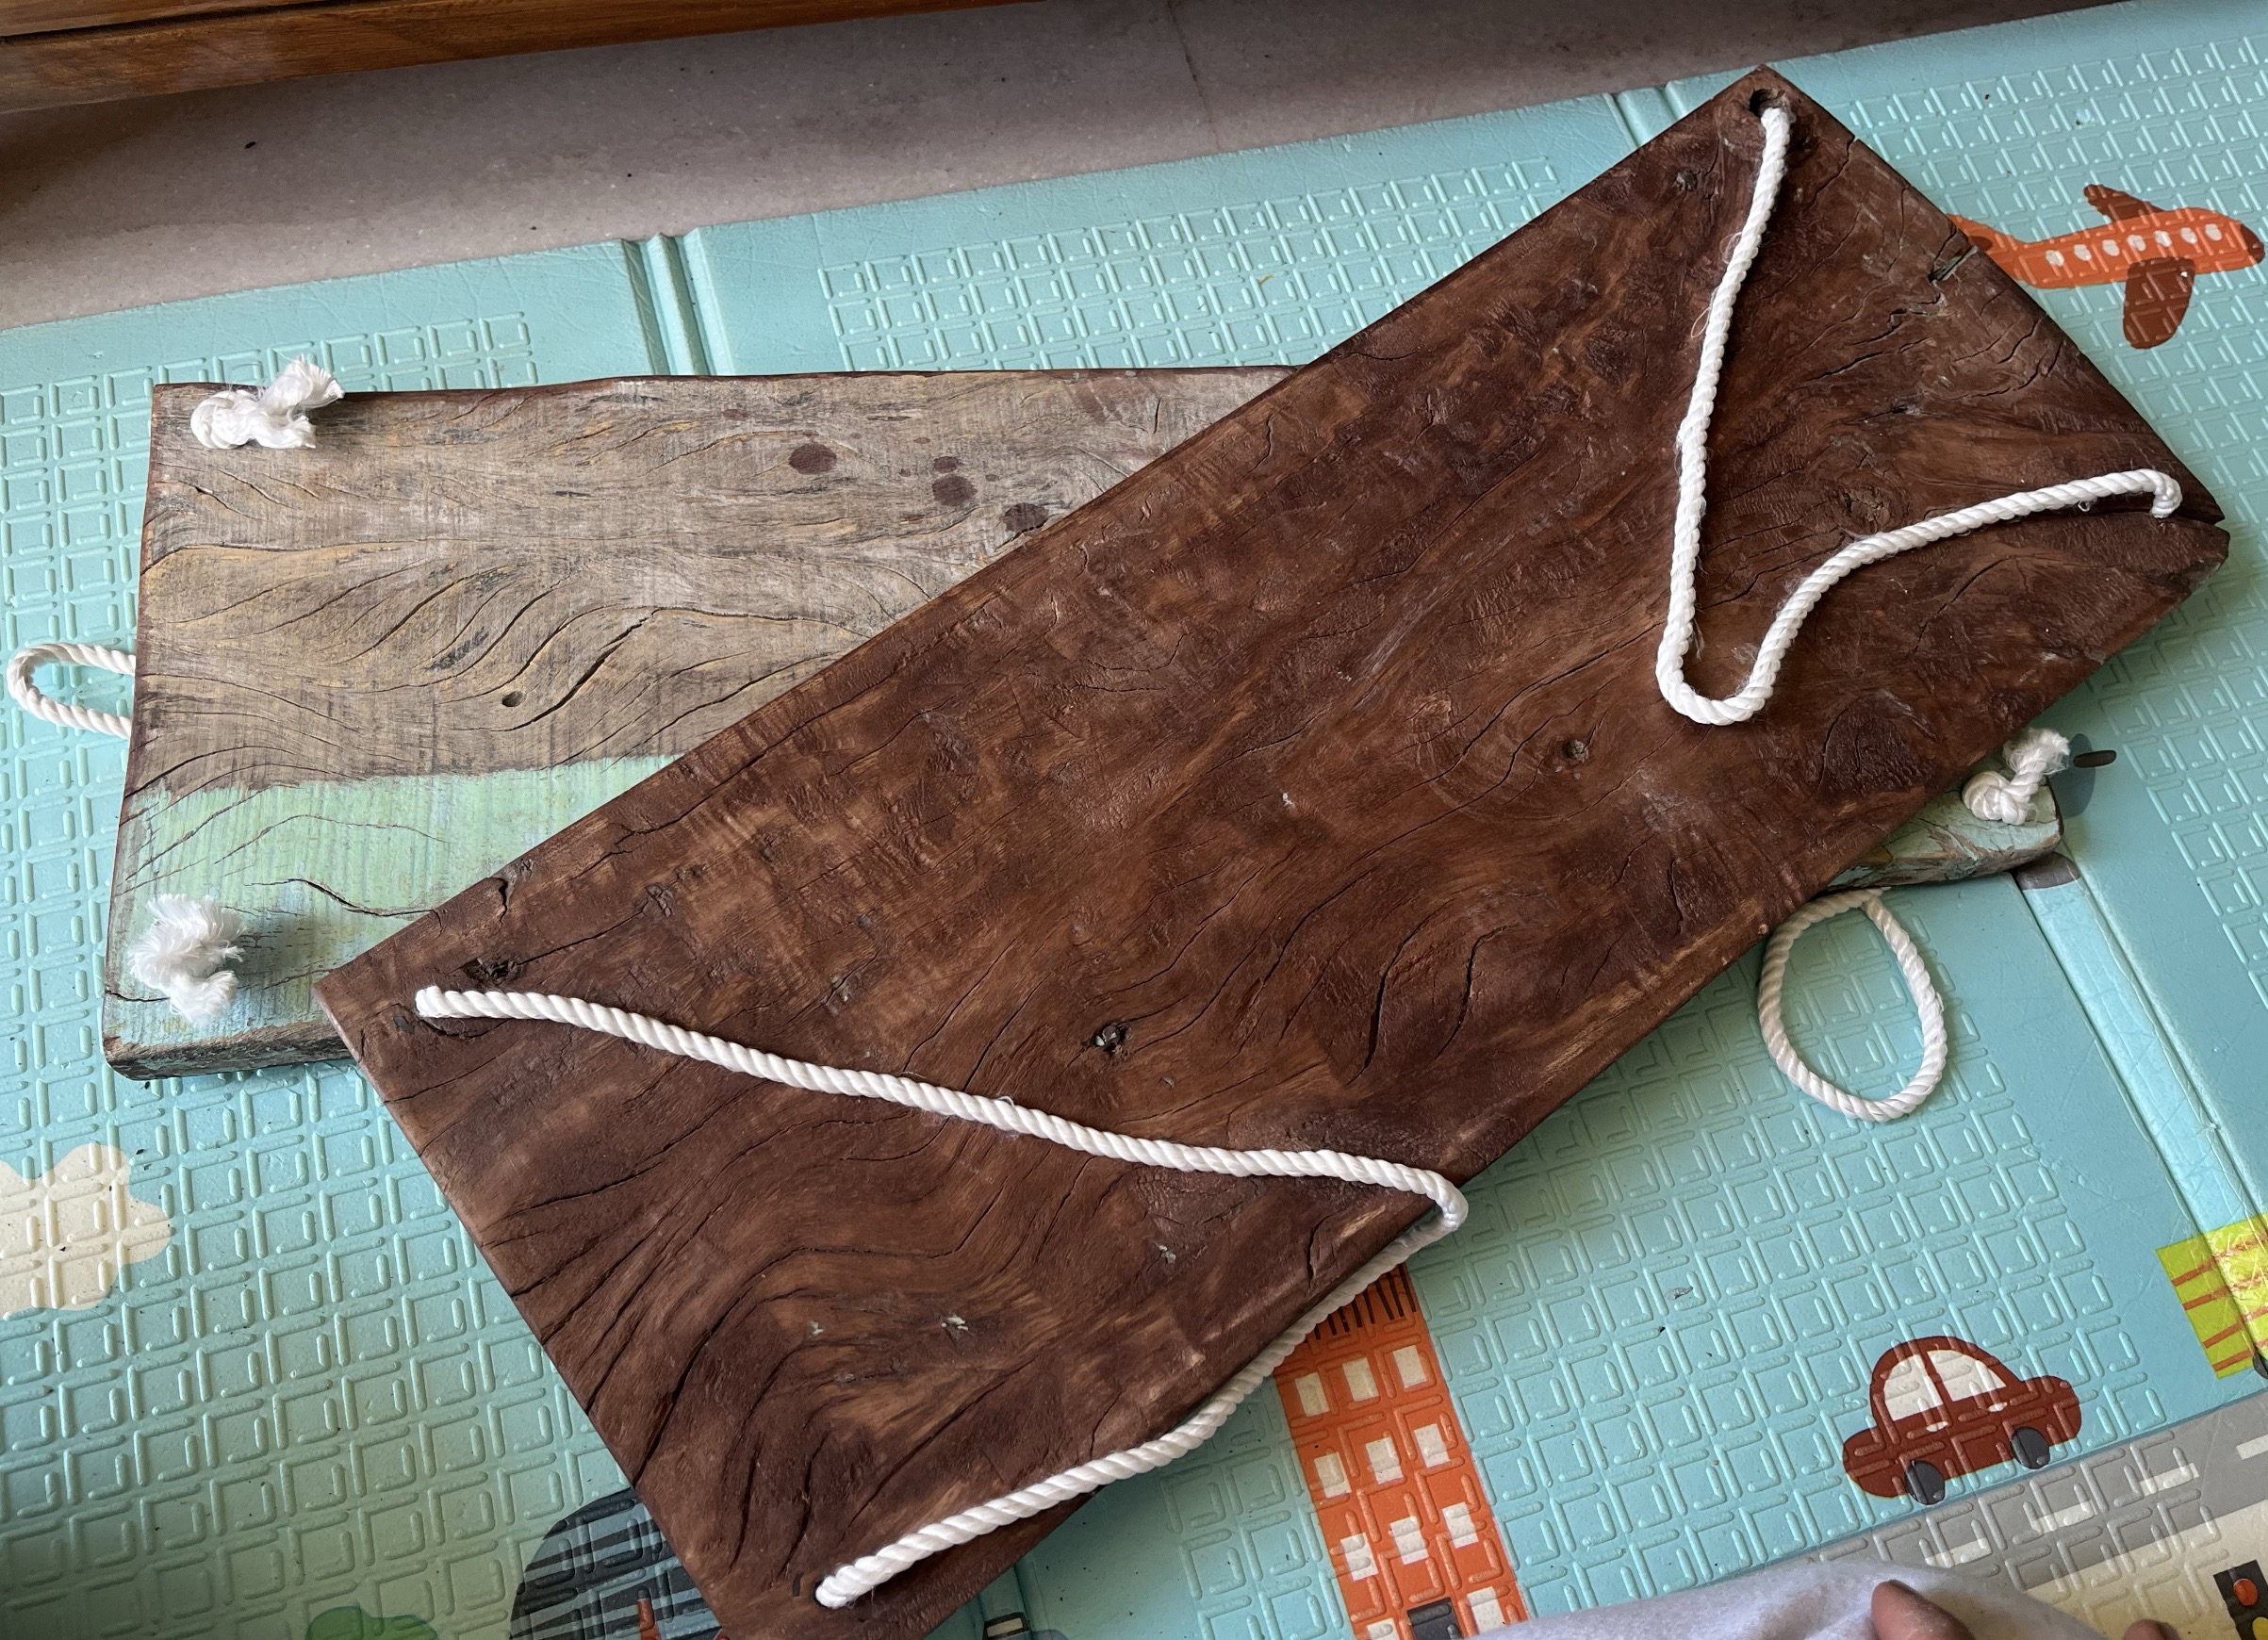
According to the design, I needed 4 metal brackets. I asked a local Iron fabricator to make such brackets but he asked me 200 rupees for one such bracket i.e. 800 for 4 - much more than the full cost of shelves on Amazon! 😅 So that way didn't work. I started thinking alternative to metal brackets and the next best thing was - Rope.
One way was to simply replace the bracket with rope but that would still need the grooves made on the wood - to keep the rope from slipping off the plank. Moreover, I wasn't sure if the plank would now stay horizontal on that flexible shaky rope. So I changed a bit. Instead of rope going around the wood, I decided to drill holes on 4 sides of the plank and hang the plank though rope, with rope itself handing on wall hooks.

4 holes and some rope-tying later, the shelf was ready to be hanged! I liked this way as it allows to easily asjust the plank's alignment through the rope knots.
Now all that was required was to hang the shelves at the spot! So I drilled some holes in the wall, inserted some hooks and voila!
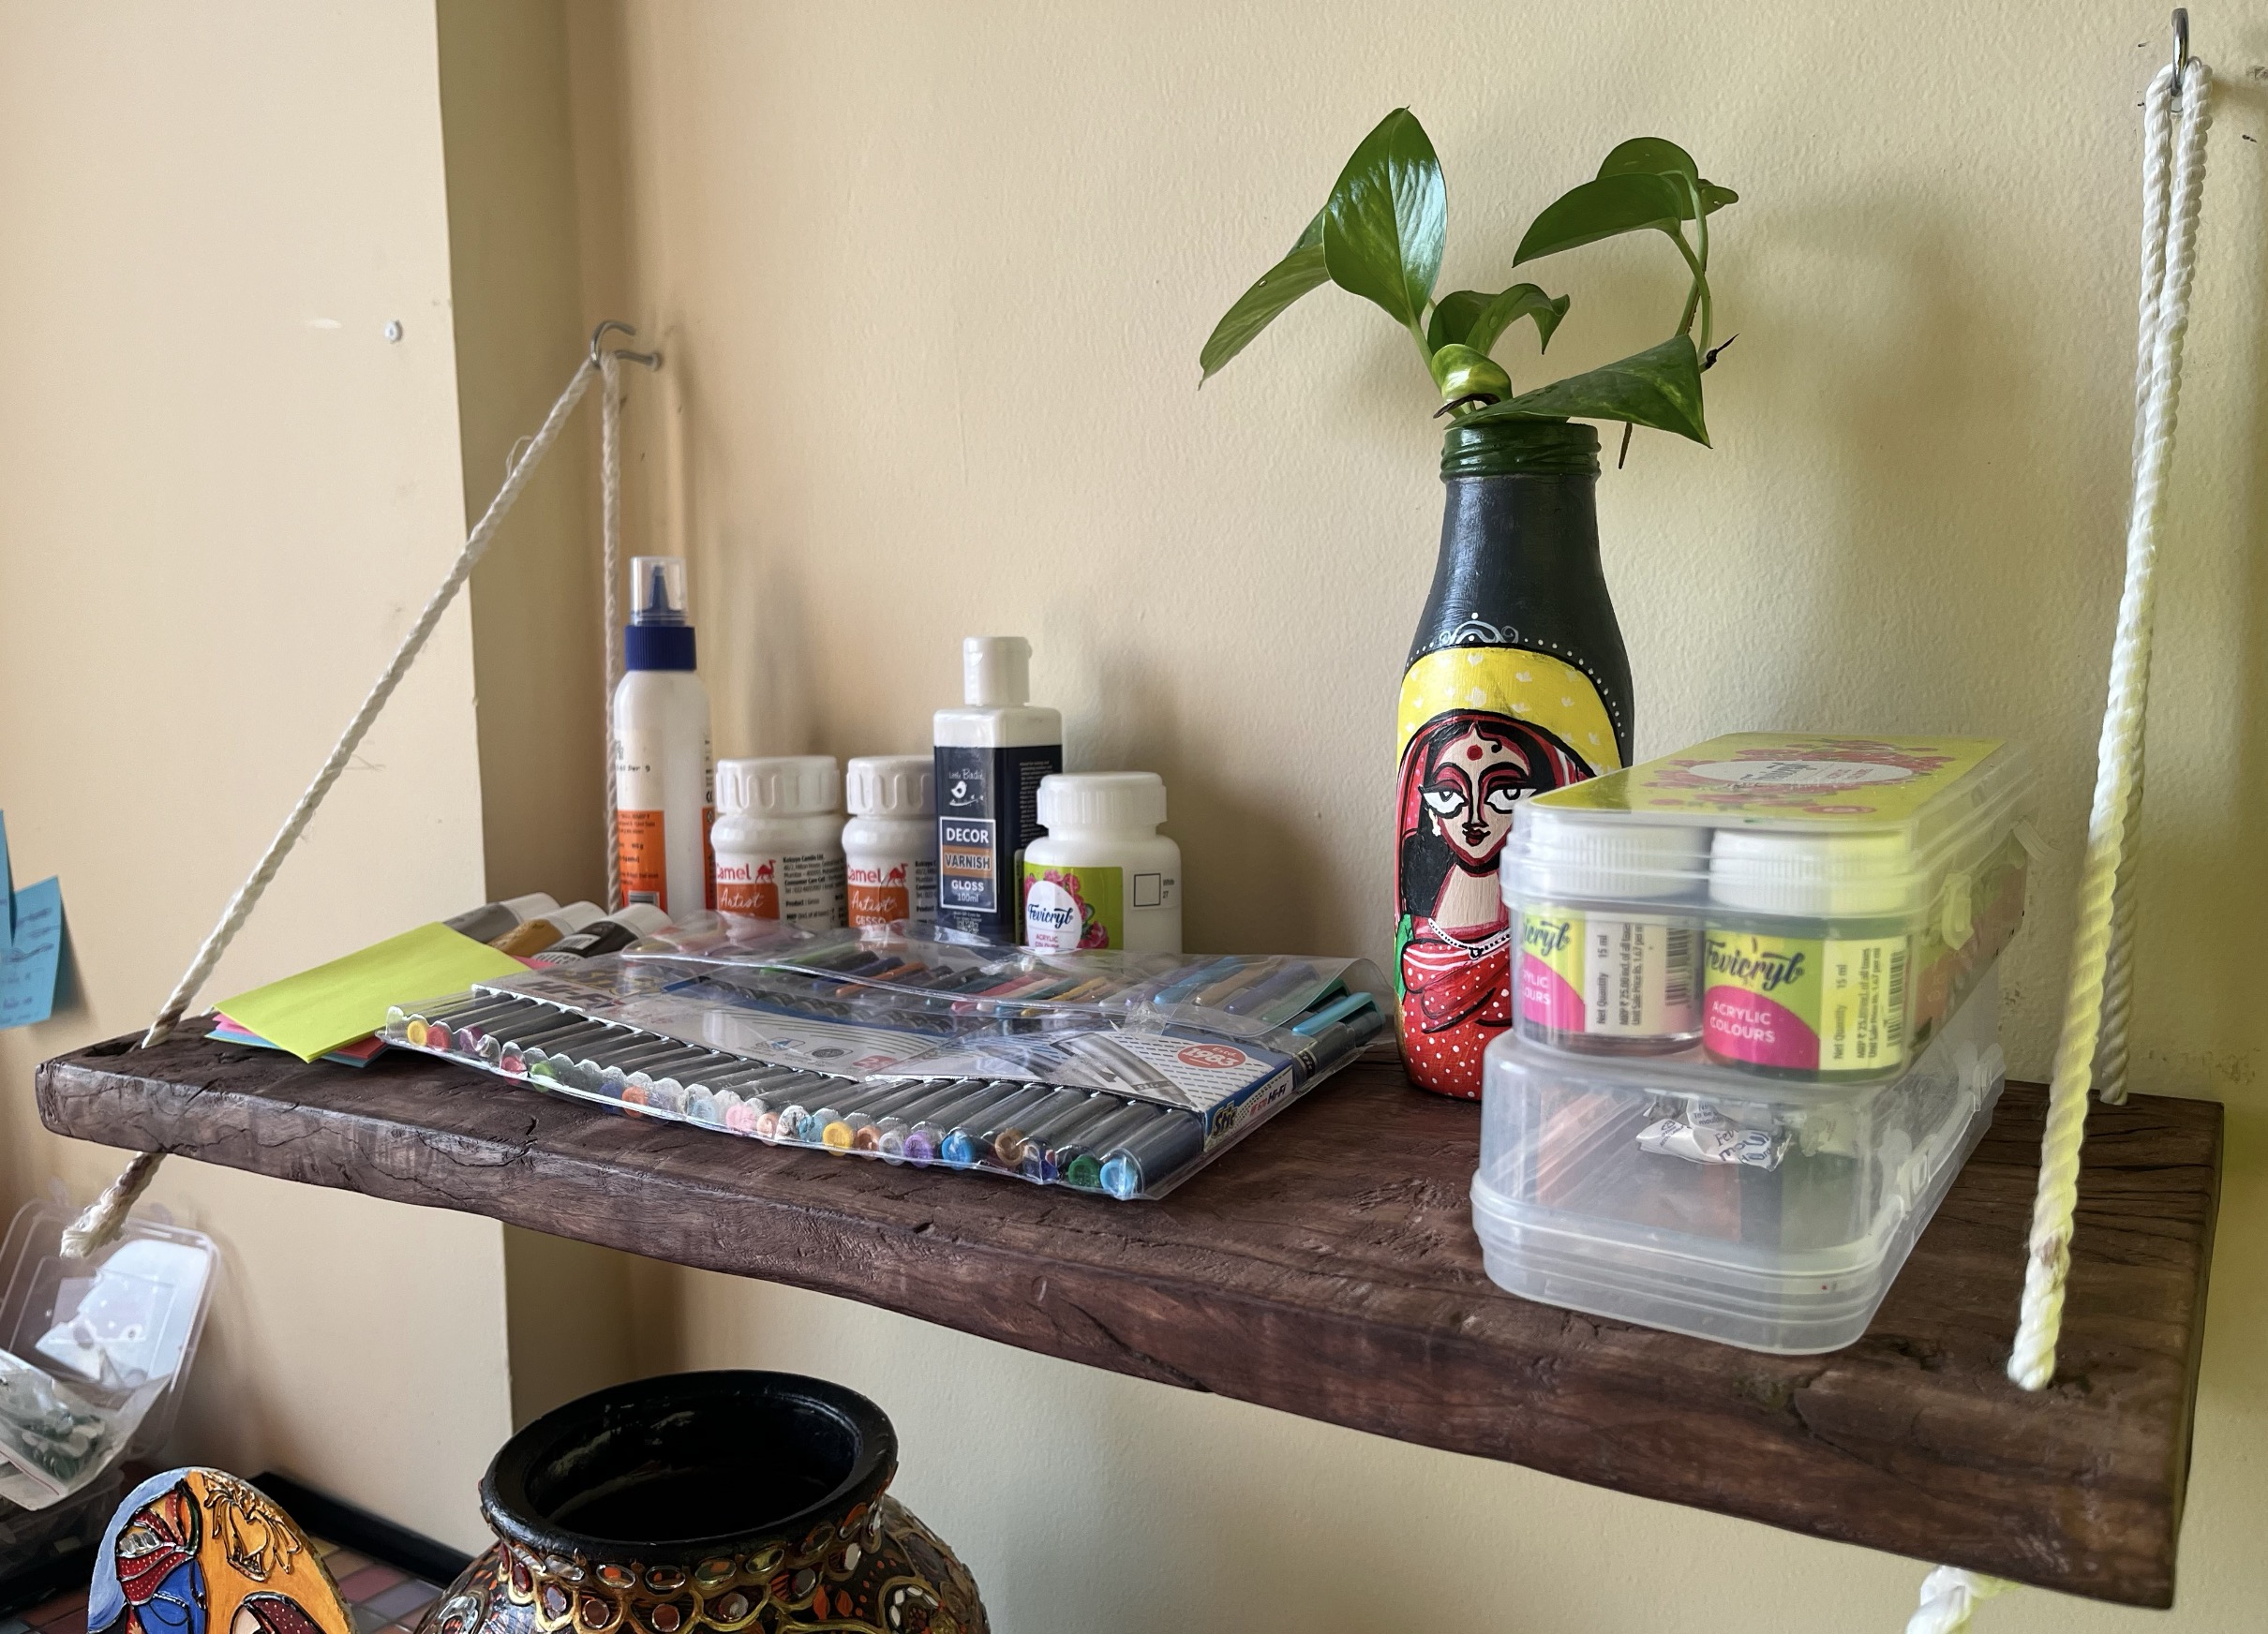
I am so happy I could start on my dream and also with what I could build in my first try! 😃 I hope to continue to build more whenever I get a chance. Thanks for reading 👋🏼